Plot
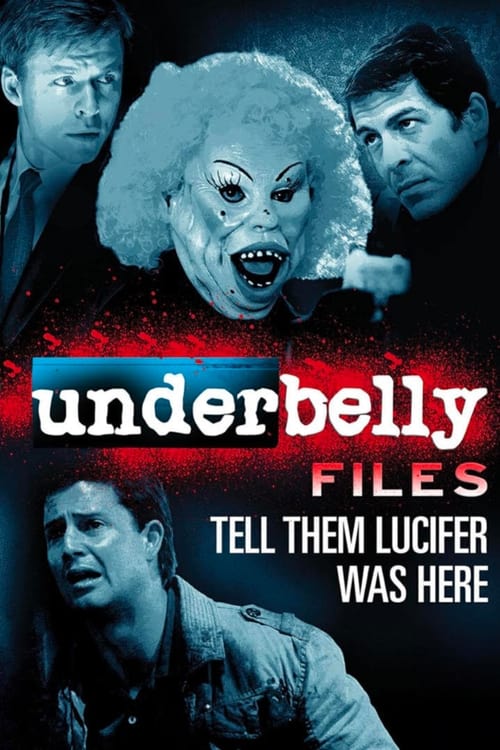
Tell Them Lucifer Was Here depicts the tragic murders of Victorian police officers, Gary Silk and Rod Miller which occurred in 1998 and shows the enormous efforts of the Lorimer Task Force in leading the manhunt for their killer or killers.
Trailer
Trailer's not available.
Cast

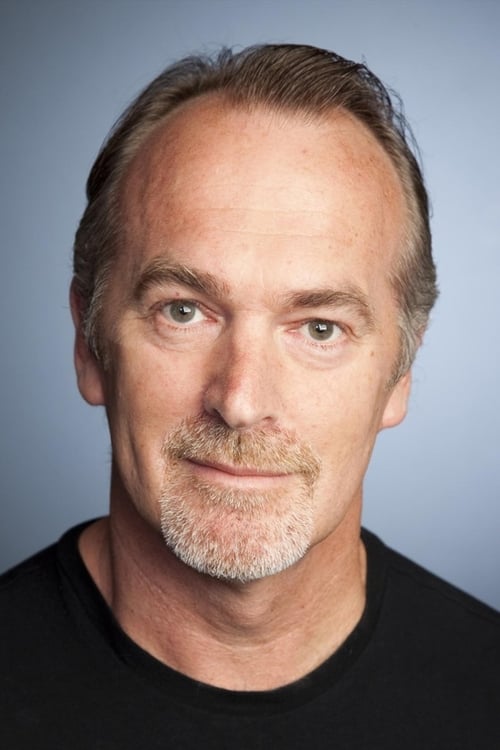
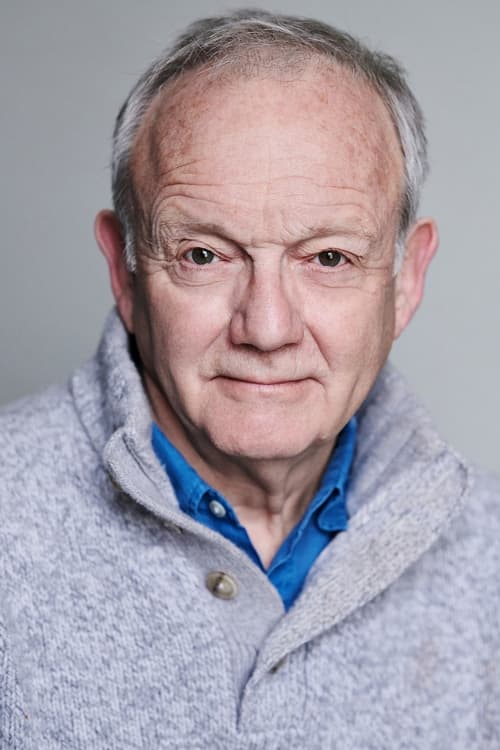
Brett Climo
Inspector Paul Sheridan

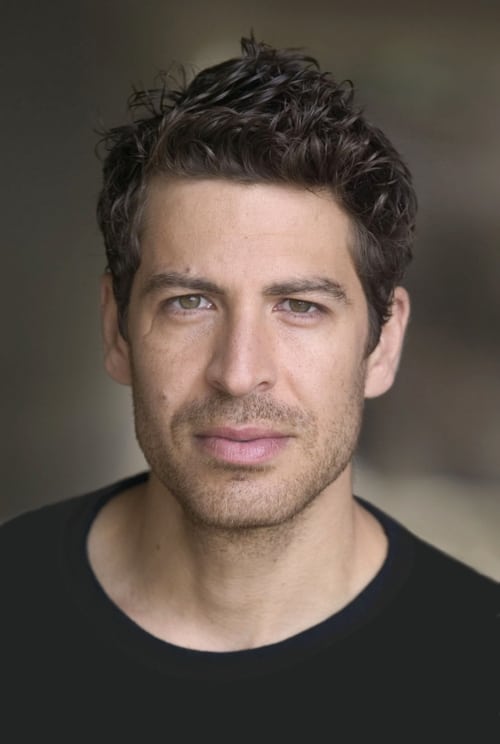
Todd Lasance
Det. Sgt Dean Thomas
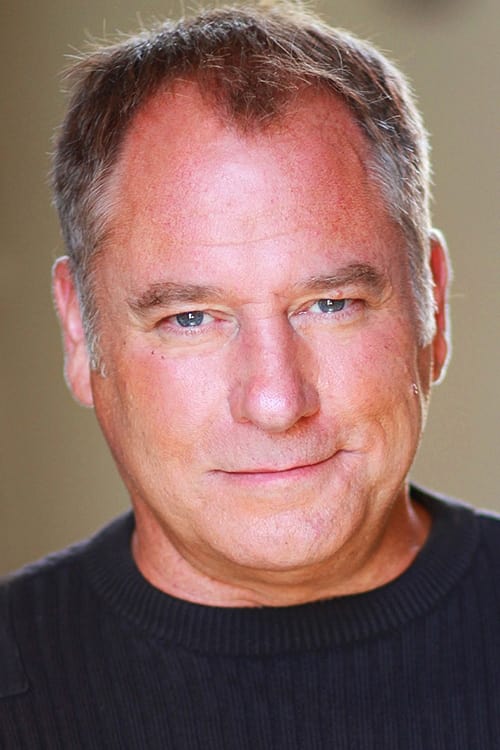
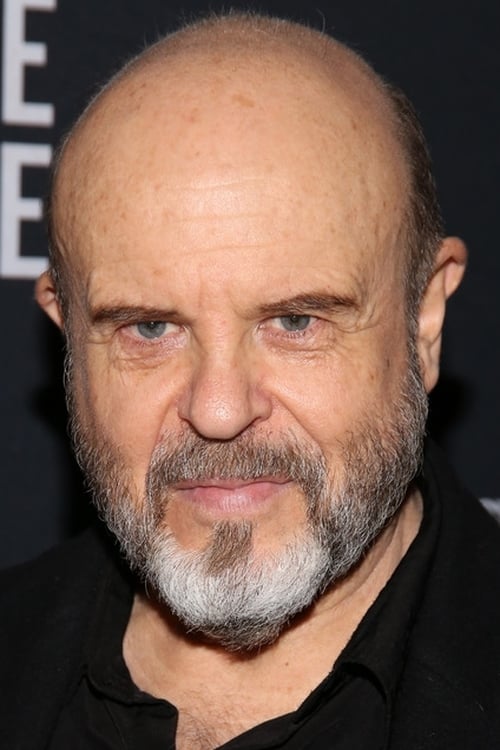
Greg Stone
Bandali Debs
Jeremy Kewley
Det. Snr Sgt Graeme Collins

Jane Allsop
Carmel Arthur
Dimitri Baveas
Jason Roberts

Annie Jones
Dorothy Debs
Christopher Bunworth
Det. Sgt. Mark Butterworth
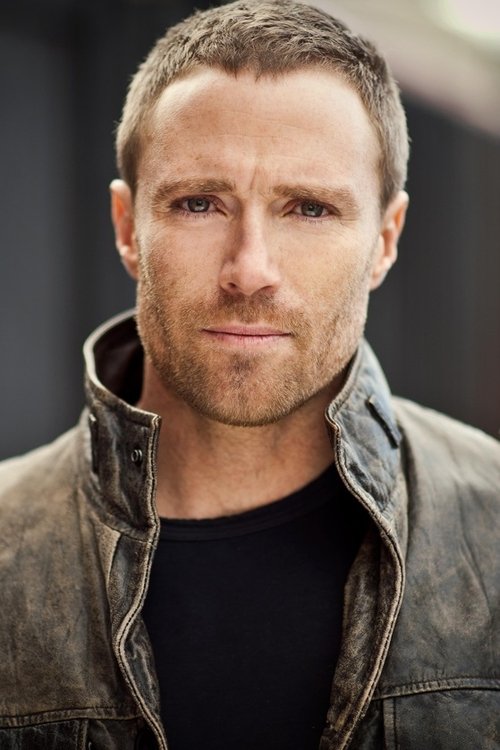
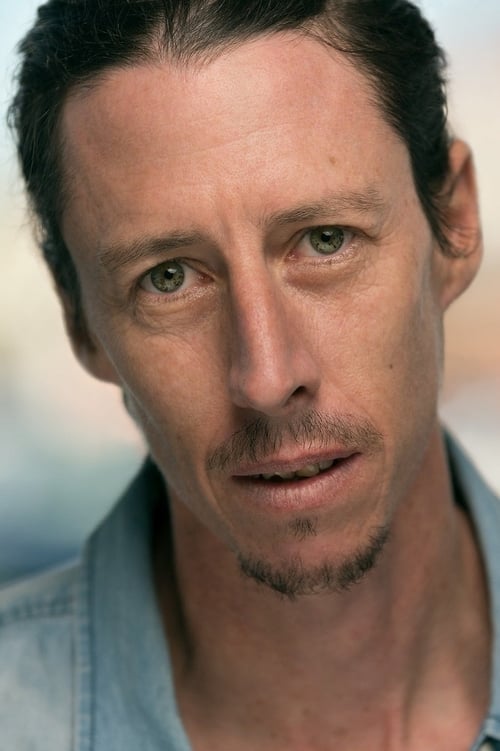
Ditch Davey
Det. Sgt. Mick Ritchie
Don Hany
Nik 'The Russian' Radev

Paul O'Brien
Rod Miller
Daniel Whyte
Sgt. Gary Silk
Marshall Napier
Chief Commissioner
Drew Maslen
Baby James Miller
Maverick Meade
Baby James Miller
Philip Lau
Restaurant Manager

Diana Nguyen
Terrified Waitress
Robert Ratti
Greaseball

Ty Hungerford
Snr. Con. Frank Bendeich

Tim Ross
Snr. Con. Darren Sherren
Jimmy Taylor
Det. Snr. Con. Steve Beanland
Craig Blumeris
Det. Snr. Con. Joe D'Alo
Simon Todman
First Traffic Officer
Lia Davies
Second Traffic Officer
Bruce Alexander
Peter Ross
Peter Lowrey
Police Chaplain

Robert Taylor
Deputy Commissioner
Nick Pendragon
SOG Inspector
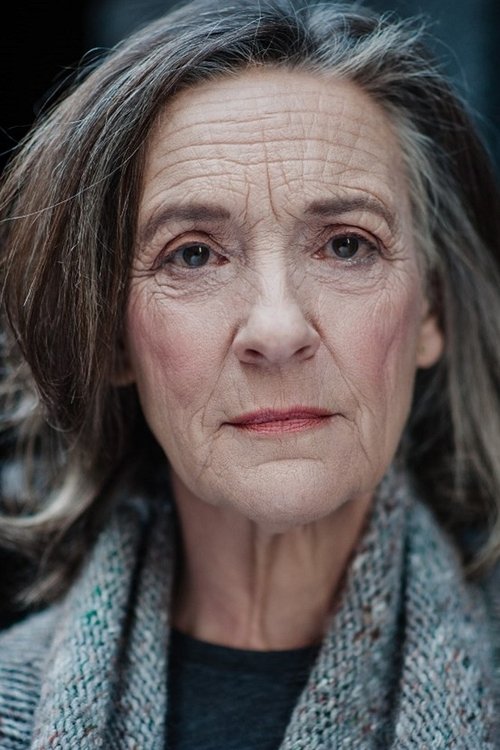
Lois Collinder
Val Silk
Tony Porter
Morrie Silk
Hadrian Jonathan
Ian Silk
Adrian Dean
Young Detective
David Brookes
Fleeing Bikie
Neil Garbutt
Giant Maori
Lance Lazzarini
Mute Crim
Soichi Yasutak
First Druggie
Ralph Sanchez
Second Druggie
Terri Brabon
Hypnotherapist
Scott Warwick
Ballistics Expert
Peter Sharkey
Windscreen Technician
Brigid Gallacher
Nicole Debs

Melissa Bergland
Joanne Debs
Brendan Bacon
Car Thief
Peter Lesley
Informant
Jacqui Roderick
Car Thief's Girlfriend
Gina Morley
Journo
John Silvester
Himself
Simon Barbaro
Luciano
Ray Tiernan
Edward Kennedy-Ripon
David Ravenswood
Old Bloke at Strip Club

Heidi Valkenburg
Girl Behind Counter
Karli Madden
First Stripper
Jennifer Carino
Second Stripper
Byron Marsh
James Miller - 10 months
Jacqueline Sim
Nik Radev's Customer
Tim Sullivan
Motivational Speaker
Jasmine Dare
Kristy Harty

Lee Cormie
Joseph Debs
Mark Drinkwater
First Surveillance Tech
Graham Murray
Second Surveillance Tech
Shanti Pezet
Police Audio Monitor

Saara Lamberg
German Backpacker
Francesca Waters
Helga Sutherland
Koby Abela
James Miller - 2 years
Robert Zakrzewski
Male Shopper
Justin Batchelor
Covert Protection Officer
Glenn Ellis
Tradie (Undercover Cop)
Lee Perry
Police Radio / Interviewer
Matt Thomas
Police Radio / DJ / Muso

Caroline Craig
Jacqui James / Narrator